
The installation journey
From roof assessment to switch-on.
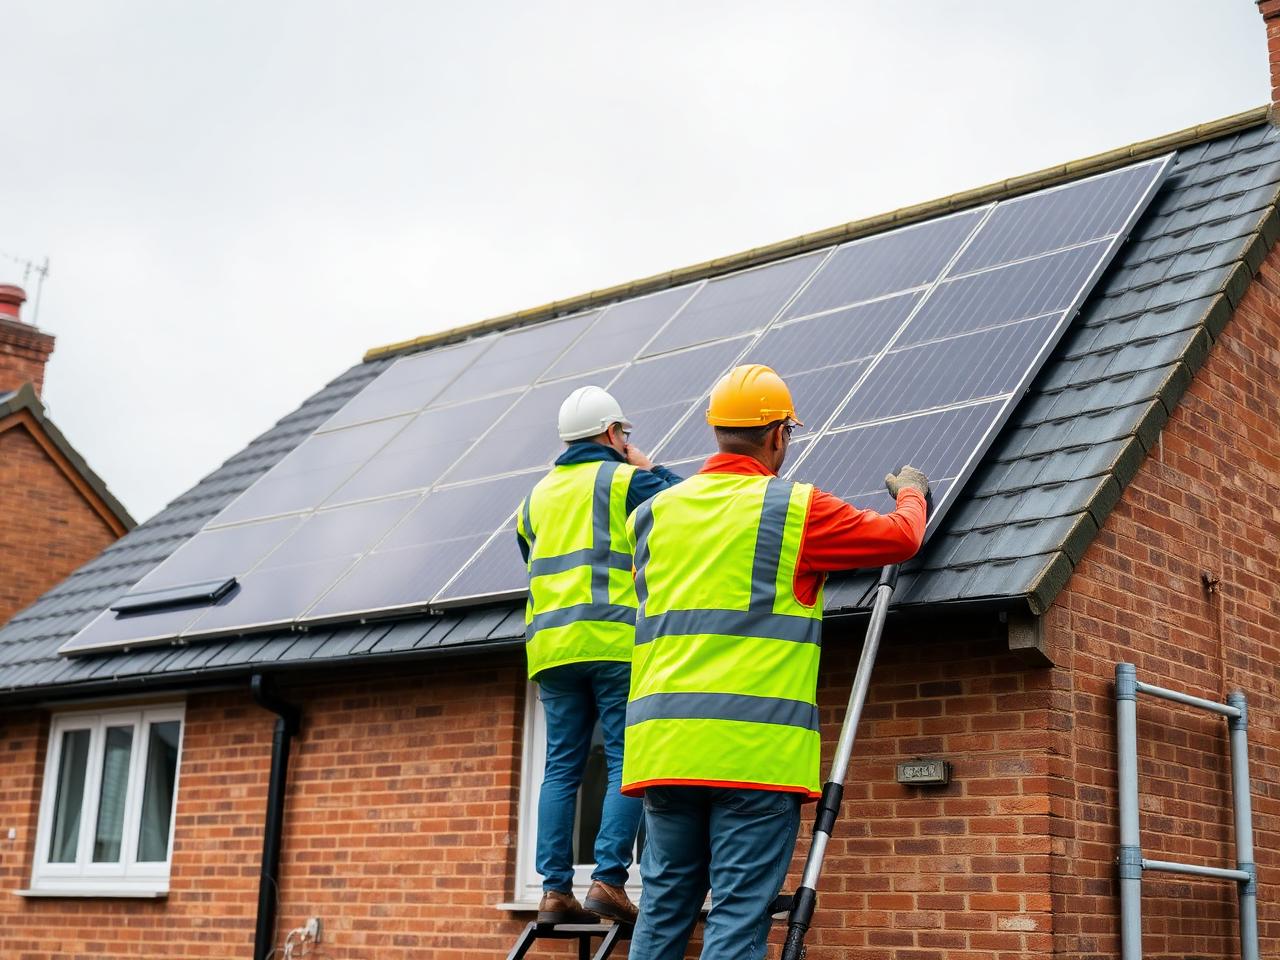
See how your project moves from an initial solar assessment through technical design, grid requirements, installation and handover.
- 01Assess
- 02Energy
- 03Design
- 04Grid
- 05Prepare
- 06Install
- 07Switch on
- 08Aftercare
Start with your actual roof.
Your roof is measured from satellite and solar data — usable area, orientation, pitch and shading — to show realistic physical roof capacity before anyone visits.
This first figure is a preliminary estimate, and it is labelled as one throughout.
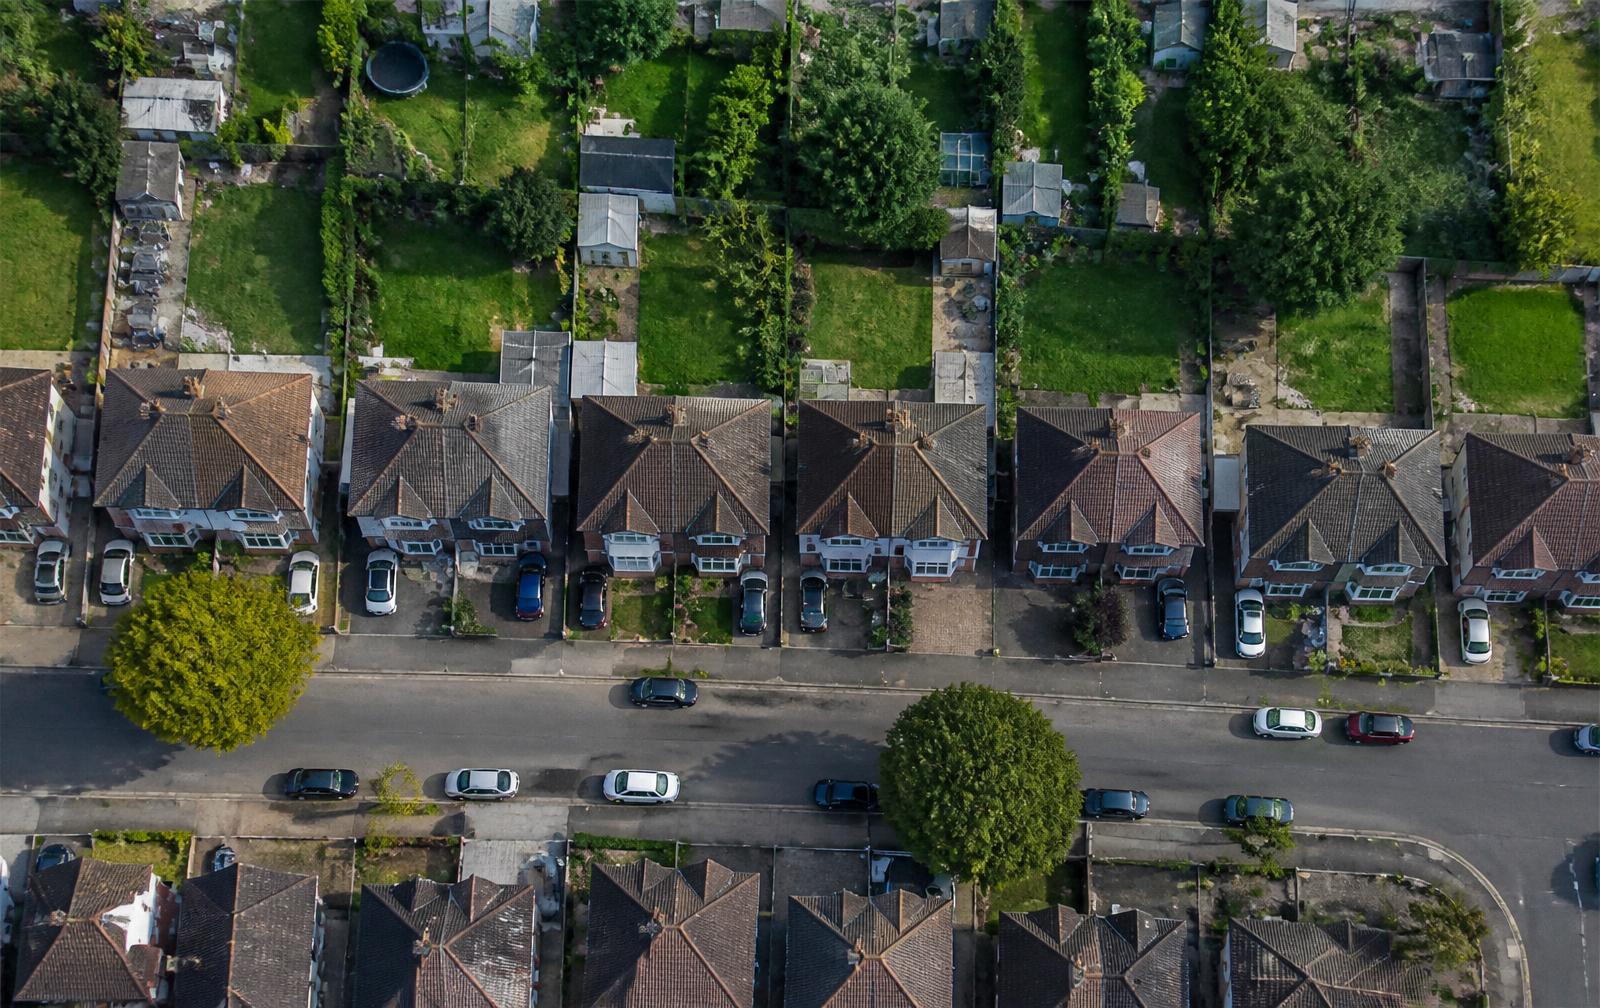
Preliminary satellite assessment
Your property address
Final panel positioning is confirmed during technical design.
Size the system around how your home uses electricity.
You tell us roughly what your household spends or uses. An initial system size is then selected to suit that consumption rather than simply filling the roof, and shown alongside physical roof capacity so the two are never confused.
"Maximum roof capacity isn't always the right system size."
Midday
Generation is at its highest while the house is often using less. The surplus charges the battery instead of being exported.
Evening
Generation falls as household use rises. The battery supplies stored electricity, so less is bought from the grid.
Turn the initial estimate into a proper technical design.
Roof covering and structure, loft access, your consumer unit and cable routes are reviewed, then panel layout, mounting method, inverter and any battery are specified.
This is the point at which panel positions become a design rather than an estimate, along with the electrical requirements for your property.
Roof
Covering, structure and fixings
Panels
Layout, clearances and mounting
Inverter
Capacity matched to the array
Battery
Optional storage sizing
Cable route
Loft path and consumer unit
We confirm what your local network requires.
The notification or application to your Distribution Network Operator is prepared, submitted and tracked. Which route applies depends on inverter capacity, your supply phase and any existing generation, so it is confirmed at design stage.
Panel count alone does not determine the connection route.
Your home
Local grid
DNO
Not every project uses every route.
Everything ready before installation day.
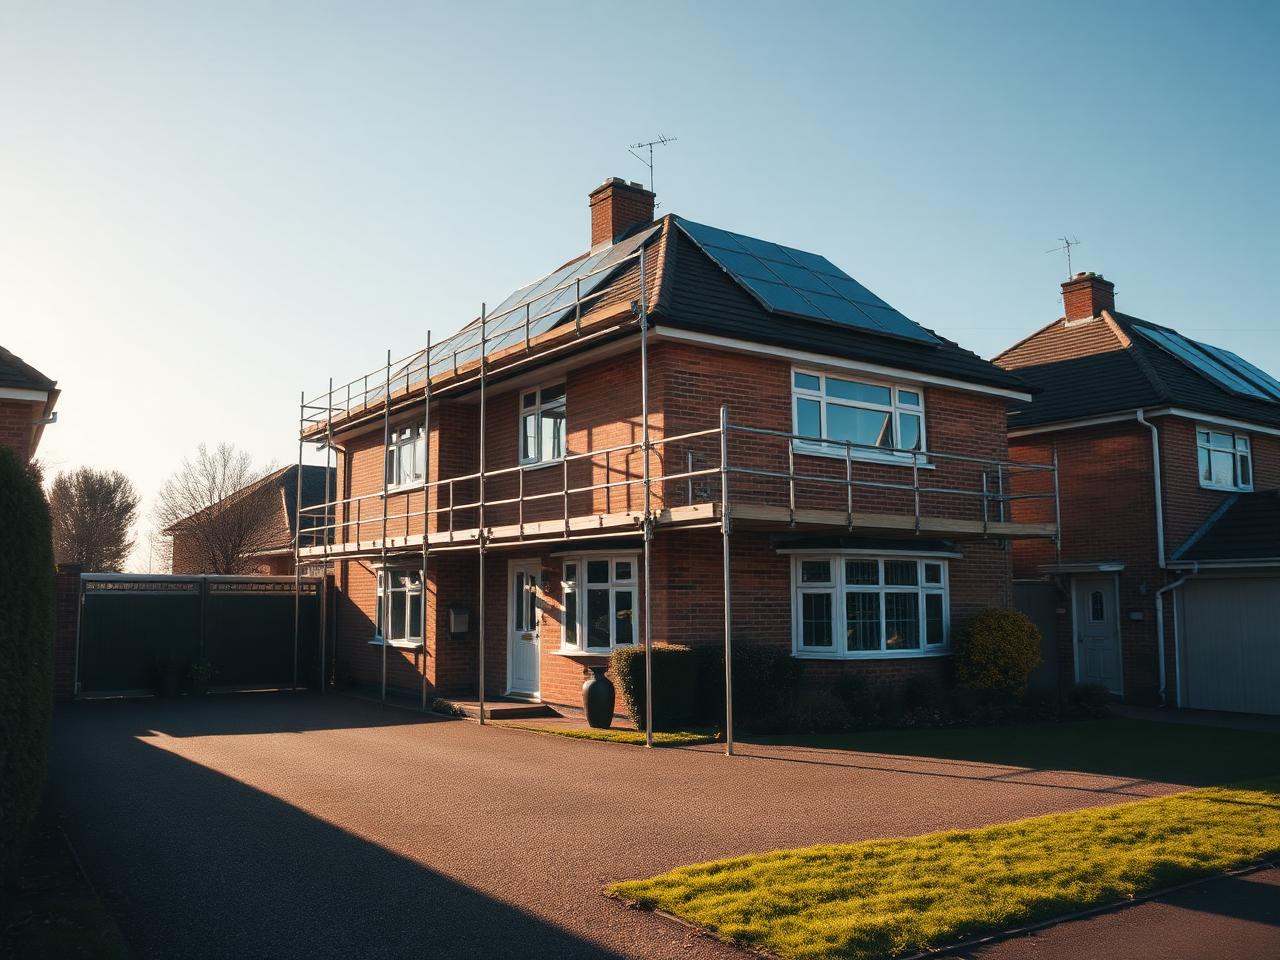
Safe roof access, scaffolding and scheduling are arranged around your installation dates rather than left for you to book separately. Access requirements depend on roof height, ground conditions and the layout of your property.
Equipment is confirmed and prepared ahead of the visit so the installation team arrives with the specified system. Images are illustrative of typical UK installations.
Your system takes shape.
Mounting, panels, inverter, any battery and the electrical connection are installed. A domestic installation typically takes between one and a few days depending on array size, roof complexity and whether storage is included.
- Roof work
- Panels
- Inverter
- Battery
- Electrical connection
Tested, commissioned and ready to use.
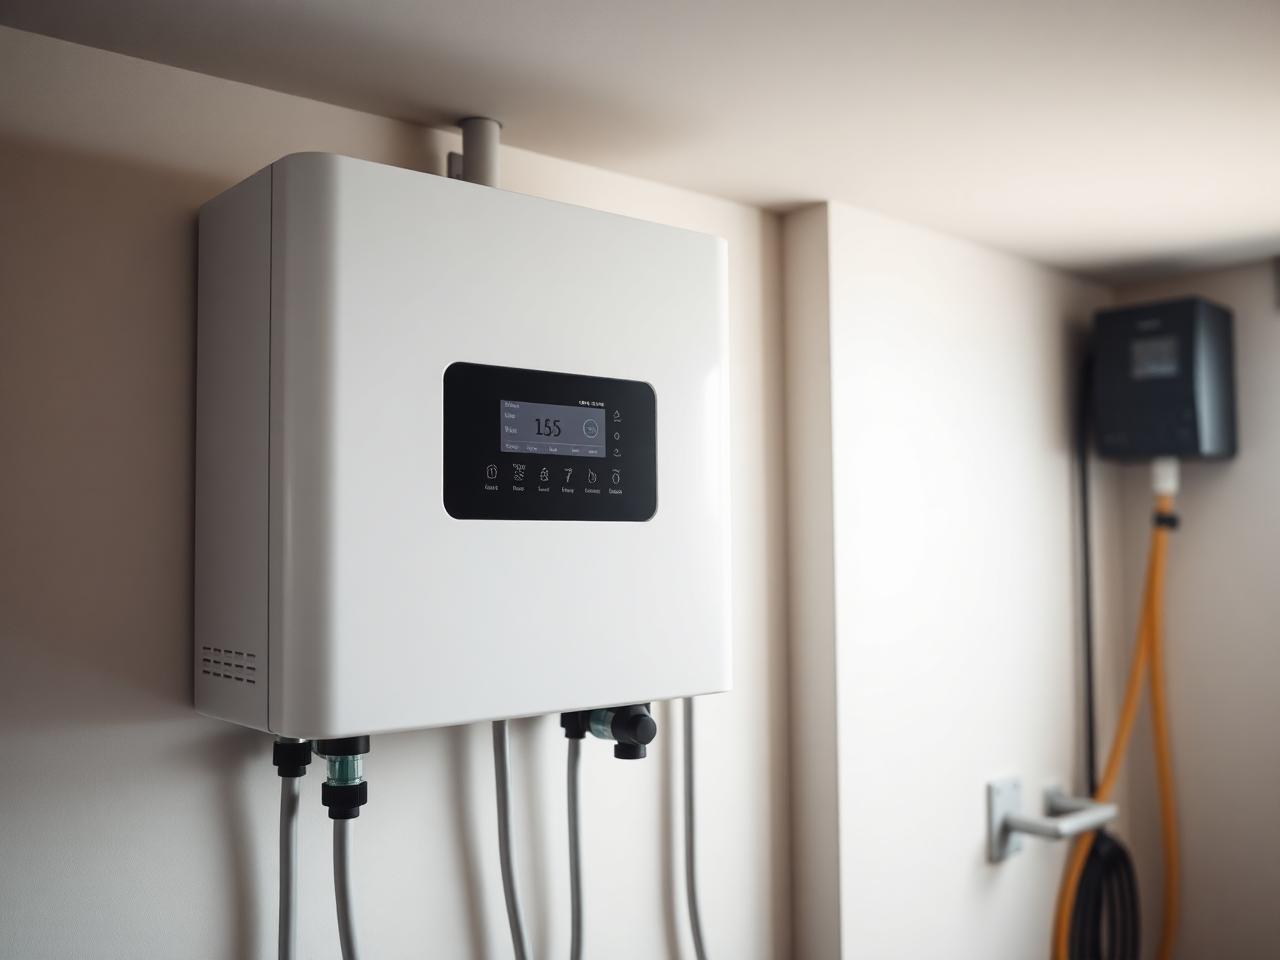
The system is tested and commissioned, monitoring is set up so you can see generation and consumption, and you are walked through how the system, any battery and the isolation points work.
You then receive your handover documentation for your records.
Know what your home is generating.
The project doesn't end at switch-on.
Support continues once you are generating: monitoring questions, performance checks, and the documentation you need for an export arrangement with a supplier.
Monitoring
Generation and consumption data
Documentation
Handover and export paperwork
Support
Questions after switch-on
What is preliminary, and what is confirmed
Preliminary online assessment
- Satellite roof potential
- Indicative roof capacity
- Initial generation estimate
- Indicative savings
Confirmed technical design
- Final panel positions
- Roof clearances
- Mounting system
- Inverter and battery
- Grid connection route
- Final system specification
Online estimates are a starting point. Final system design and grid requirements are confirmed before installation.
Questions about installation?
The practical questions homeowners ask most about installation day, access and what happens once the system is running.
How long does installation take?
Most domestic installations are completed within one to a few days on site once scaffolding is up, depending on system size, roof complexity, the electrical work involved and whether a battery is included. The overall project timeline is usually longer than the installation itself, because it includes technical design, grid paperwork and scaffolding scheduling.
How disruptive is installation?
Scaffolding is erected first, which is the most visible stage. Roof work happens outside; the inverter, any battery and the electrical connection are inside, typically in a loft, garage or utility space. You should expect at least one planned interruption to your electricity supply while the system is connected, and some drilling noise. Rooms need clear access to the working areas.
Who arranges scaffolding?
Safe roof access is arranged and scheduled as part of your project, so it is in place for your installation dates rather than being something you book separately. Access requirements depend on your roof height, the property type and whether the working area can be reached safely.
Do I need DNO approval?
Whether your system needs prior approval or notification after installation depends on inverter capacity, the number of phases at your property, any battery storage, any existing generation and the local network. Panel count alone does not determine it. Where an application is required, we prepare and submit it as part of your project, and we never describe a system as approved before it is.
What happens after installation?
The system is tested and commissioned, monitoring is set up so you can see generation and consumption, and you are walked through how the system, any battery and the isolation points work. You then receive your handover documentation, which is also what you need for your export arrangement with a supplier.
How do I know the system is performing properly?
Monitoring gives you daily and long-term generation figures, so a fault or a new shading problem shows up as a change against previous performance rather than going unnoticed. Comparing like months with like — this April against last April, not against midsummer — is the practical way to read it.
Your solar journey starts with your roof.
Get a free preliminary assessment of your home's solar potential.